Peter's DIY electronic projects
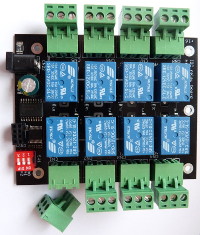
8-channel relay board for Raspberry Pi and Arduino
You can directly connect this relay board to the Raspberry Pi or Arduino using just four wires
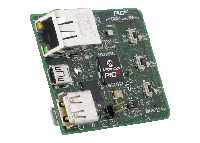
Add ethernet
connectivity your projects, get started with the Microchip Ethernet
Starter Kit quickly. This guide shows how to setup the MPLABX
development environment for compiling PIC32 source code and the
TCP/IP stack.
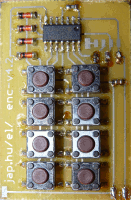
Control up to 8 devices by
this easy constructable remote control. It can work as a radio or
infrared remote control, depending on the components. Each device
output can be configured to be momentary (turned on while you press
the button) or latched.
Latched outputs can be toggled on/off by one button per channel, or
turned on and off by two buttons per channel.
Take your existing remote control and control everything with
it. This receiver can learn codes from an RC-5 or NEC format IR remote
control, and associate the buttons to different channels and
actions.
Control up to 16 remote digital output lines by this remote
control encoder/decoder. The encoder can transmit either using a
radio module or an infrared LED. The decoder outputs can be latched
or momentary
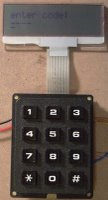
Operate your gate or something different by this simple
electronic combination lock. The combination can have a chosen
length of numbers or alphabets, and can be changed any time. The
LCD display is optional, the circuit works fine without it. After
entering the correct combination, a relay is operated for the
predefined time.
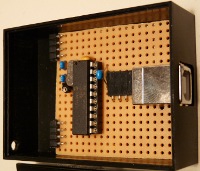
Add general purpose input/output lines to your computer based
or openwrt projects! You can control 12 digital input/output lines
from USB port using this circuit. Each line can be individually set
to an input or output, and each output pin can be set HIGH or LOW
independently, without changing other output pin states.
Build your own temperature meter for fun. This project uses
the Microchip TC77 digital temperature sensor, a PIC16F871
microcontroller and a 7-segment 3½ digit LCD. You can study
the source code on how to drive an LCD display.
Automatically turn off the lights after 10 minutes. If you
often forget to turn off the lights outside or at different places
in the house, this circuit can be practical for you. It can control
two independent light switches with different turn off times. Press
the button once and the light turns on for the preset time. Press
again, and the light remains on forever. Press for the third time,
and the light turns off.
Control all your devices from the PC. This infrared remote
control transmitter can be controlled from a computer. It speaks
many different remote control formats, like the Philips RC-5
standard and can be tailored to other specific types.
Turn on the sprinkler or the aquarium lighting for the same
period of the day. You can choose to operate the output by every
2nd, 3rd, ... day only. There is a manual start/stop button to
immediately turn on or off the output, and a disable button to
completely turn off automatic operation.
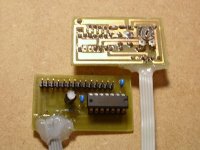
Connect an LCD to your microcontroller to make it easy to
develop and debug your application. You can choose which PIC I/O
pins you want to use for the interface, and any HD44780 compatible
LCD can be controlled.

Connect your PIC devices on
a shared network, and they can communicate to each other and share
information. You can control them all by any unit on the
network.

Are you new to microcontrollers? Microchip 8-bit PIC
microcontrollers are cheap and easy to start with. You can find
them in many size starting at 6 pins. Most parts contain FLASH
program memory, so they can be programmed hundred times. A good
choice to start with is the 40-pin PIC16F887, or the 18-pin
PIC16F628A/PIC16F818. They contain integrated serial interface,
timers, PWM module, AD converter and separate EEPROM to store your
own data.
Electronic parts documentation
Favourite links
 8-channel relay board for Raspberry Pi and Arduino
 Add ethernet
connectivity your projects, get started with the Microchip Ethernet
Starter Kit quickly. This guide shows how to setup the MPLABX
development environment for compiling PIC32 source code and the
TCP/IP stack.
 Control up to 8 devices by
this easy constructable remote control. It can work as a radio or
infrared remote control, depending on the components. Each device
output can be configured to be momentary (turned on while you press
the button) or latched.


 Connect your PIC devices on
a shared network, and they can communicate to each other and share
information. You can control them all by any unit on the
network.