Download the Microchip Application Libraries from http://microchip.com/mal - choose Beta Linux, the actual version (v2011-10-18 as of writing). This library can be installed as a normal user, no need to get root.
$ chmod +x microchip-application-libraries-v2011-10-18-beta-linux-installer-v2.runI choose installation directory ~/MPLABXProjects/MAL
$ ./microchip-application-libraries-v2011-10-18-beta-linux-installer-v2.run
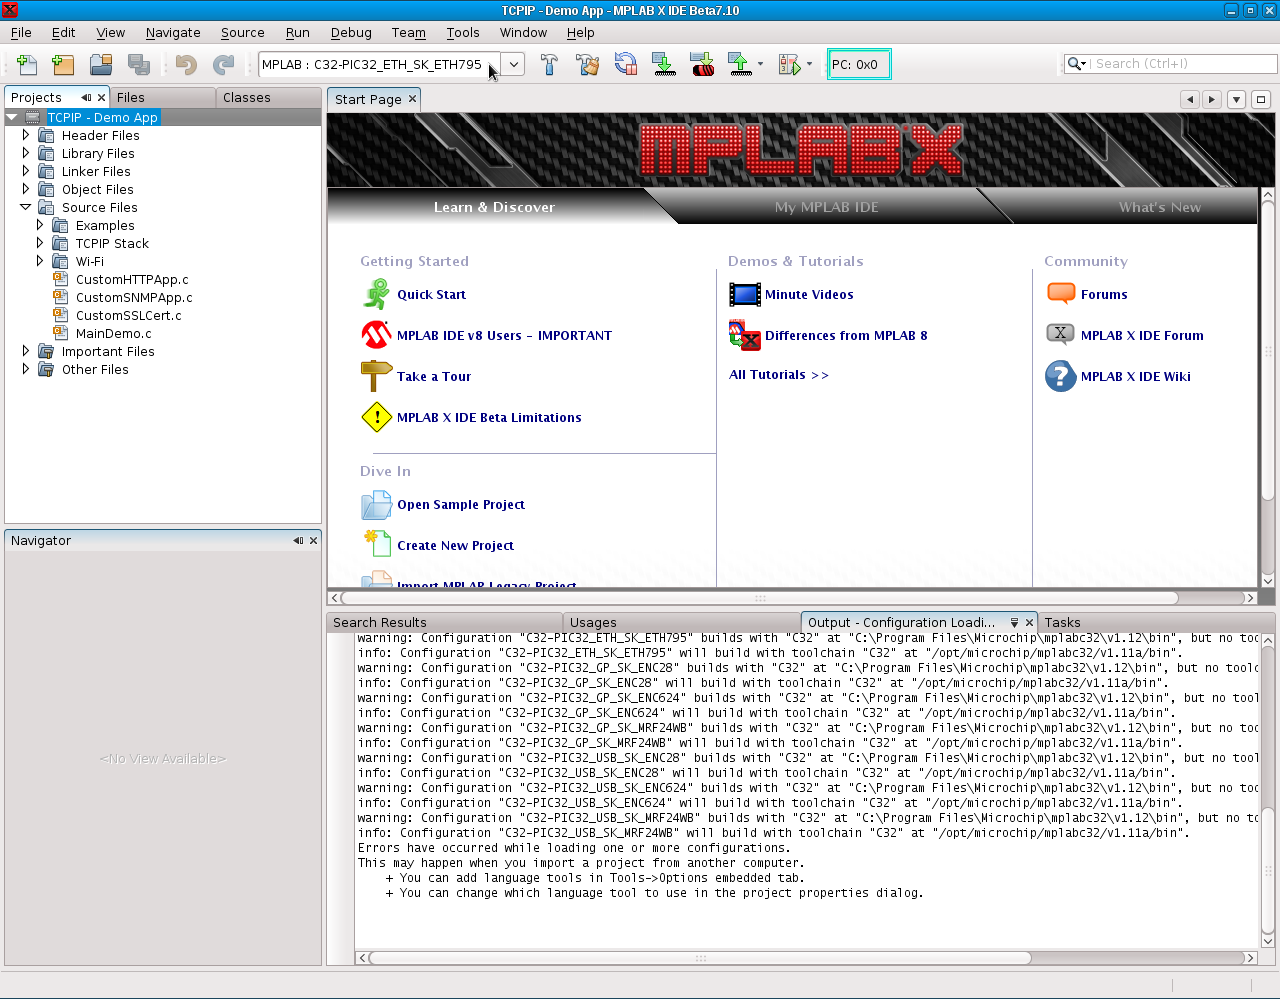
Start MPLABX, then choose File/Open project. Browse to ~/MPLABXProjects/MAL/TCPIP/Demo App and open the MPLAB.X project directory. Don't care about the "Configuration loading error" messages.
select the "MPLAB: C32-PIC32_ETH_SK_ETH795" configuration as seen on the screenshot.

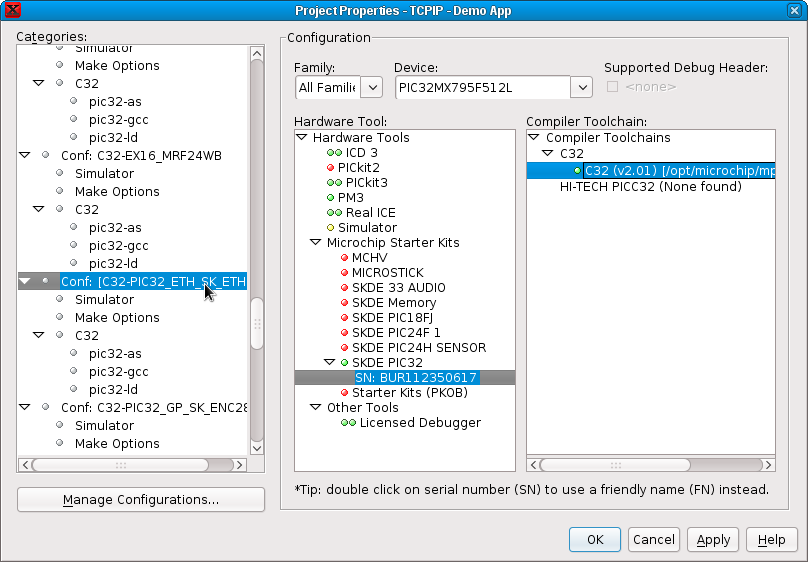
Edit the project properties by right clicking on the project "TCPIP - Demo App" and selecting "Properties". Select the Conf: C32-PIC32_ETH_SK_ETH795 item from the categories, and modify the Hardware tool to SKDE PIC32 and the Compiler toolchain to C32 (see picture)

Select the "Build the Project" button. If you see "BUILD SUCCESSFUL" at the end of the messages, you can press the button "Make and Program Device". This will upload the program to the board.
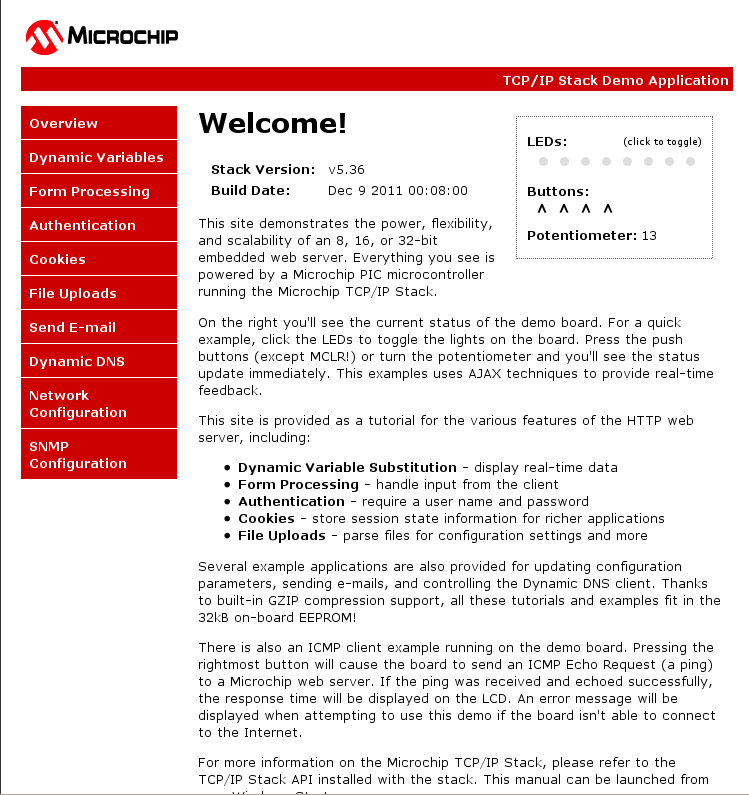
Now open the URL of the board. If everything is fine, you will see that the stack version is now v5.36 and the build date is changed to the actual date.
